3d drawing of a pyramid
The pyramid is a structure with triangular outer surfaces that converge to a single indicate at the top.
Though the pyramid has a pyramid geometric shape, its base tin can exist trilateral, quadrilateral, or any polygon shape.
When we think of pyramids, the Great Pyramid of Giza is often what comes to our minds start. It's no surprise every bit it was actually ane of the nearly iconic pyramids in the world, securing a spot in the Seven Wonders of the Ancient Earth.
Though seeing the Great Pyramid of Giza in real life may only be a dream, you can always draw a pyramid so you can look at it at the comfort of your habitation!
We have created a step-by-step tutorial on how to depict a pyramid, summarized in ix easy instructions and simple illustrations.
Take fun creating your very own unique pyramid!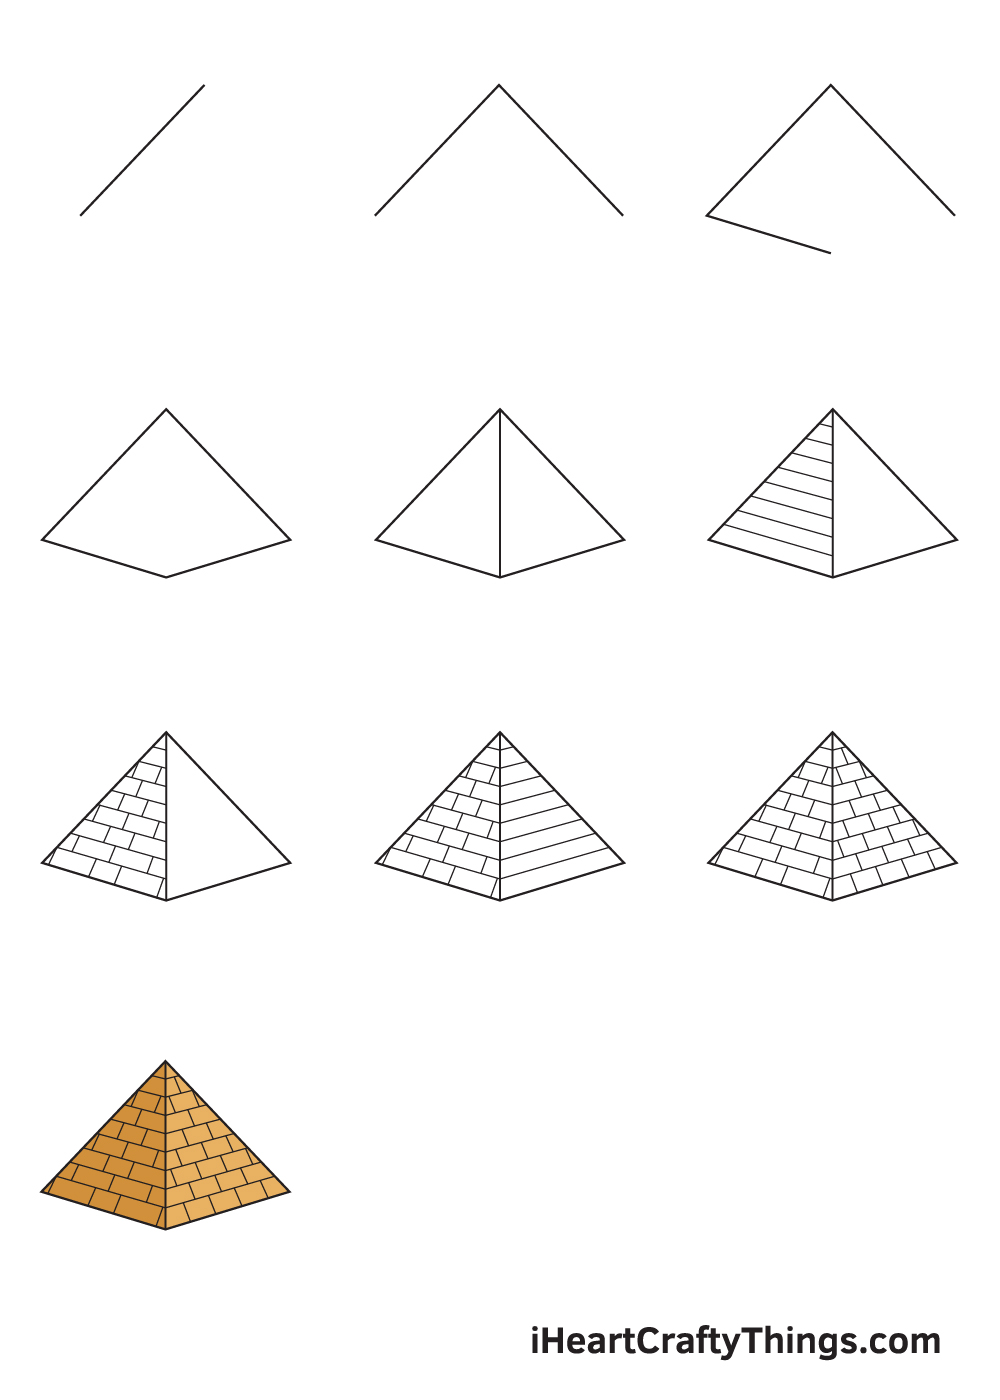
What'south in this Blog Postal service
- How to Draw a Pyramid — Let'south get started!
- Step one
- Step 2 — Outline the Top Part of the Pyramid
- Step 3 — Draw the Left Bottom Part of the Pyramid
- Stride iv — Consummate the Shape of the Pyramid
- Step 5 — And then, Draw the Dimension of the Pyramid
- Step 6 — Next, Draw the Patterns on the Left Side
- Pace 7 — Finalize the Patterns on the Left Side
- Pace 8 — Afterwards, Add Patterns on the Right Side
- Step 9 — Now, Complete the Patterns on the Right Side
- Your Pyramid Drawing is Complete!
How to Draw a Pyramid — Let's go started!
Stride 1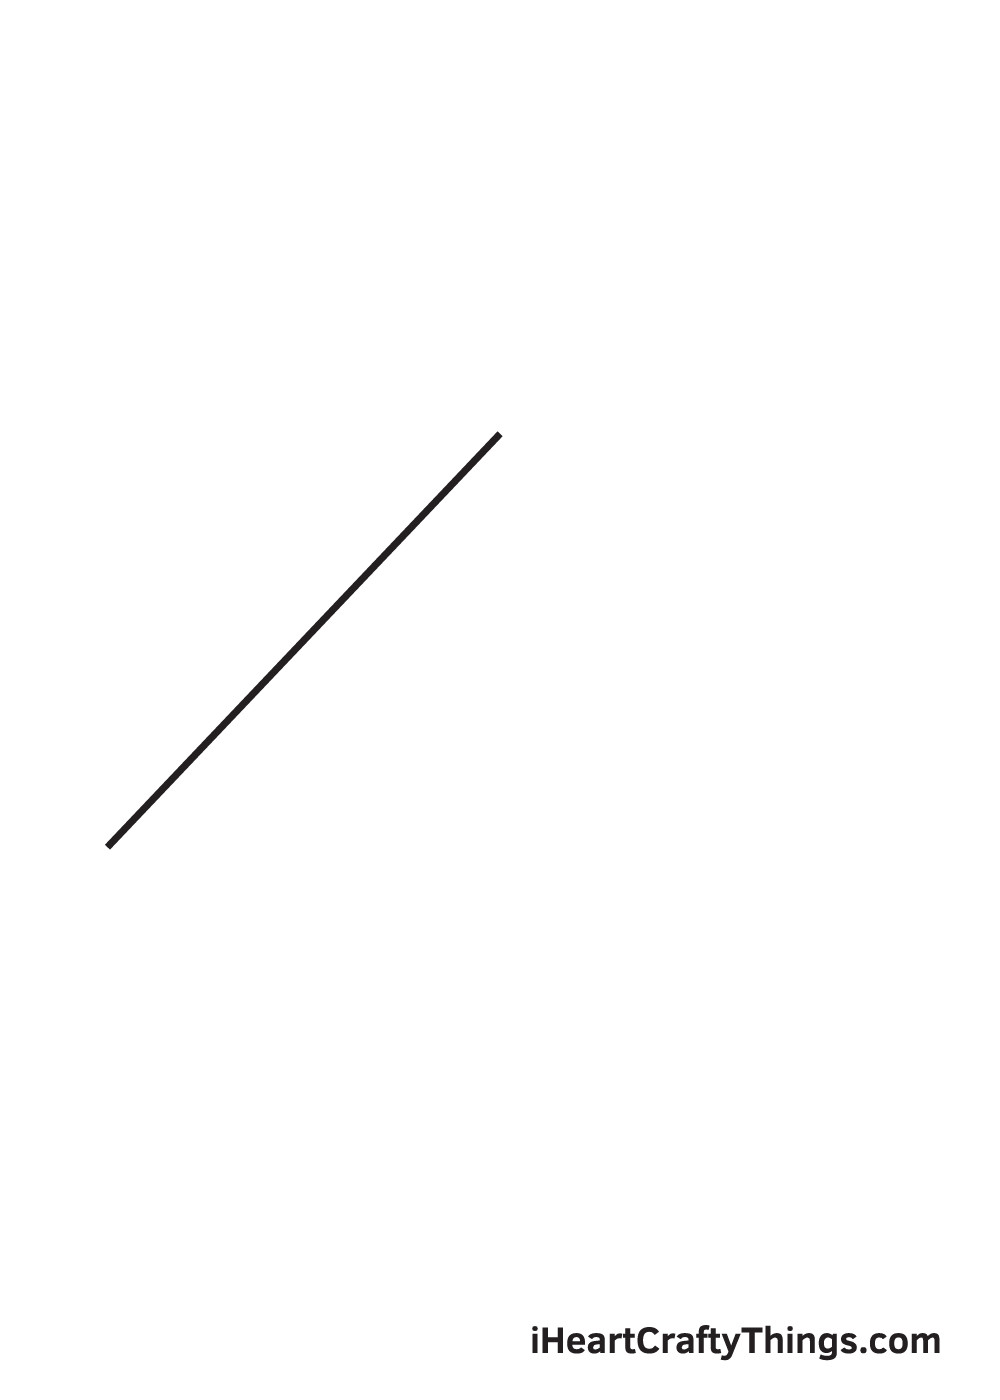
Begin past drawing a diagonal line on the left side of your paper. This forms the left side of the pyramid.
Drawing a pyramid is mainly dependent on directly lines. So, feel free to utilise a ruler every pace of the way to help you depict direct lines quickly and hands.
Footstep ii — Outline the Top Part of the Pyramid
From the top endpoint of the diagonal line that we drew previously, draw a downwards diagonal line heading to the right side. This forms the meridian portion of the pyramid.
When drawn correctly, this should course an inverted V-shaped line, as shown in the illustration in a higher place.
Pace 3 — Draw the Left Bottom Part of the Pyramid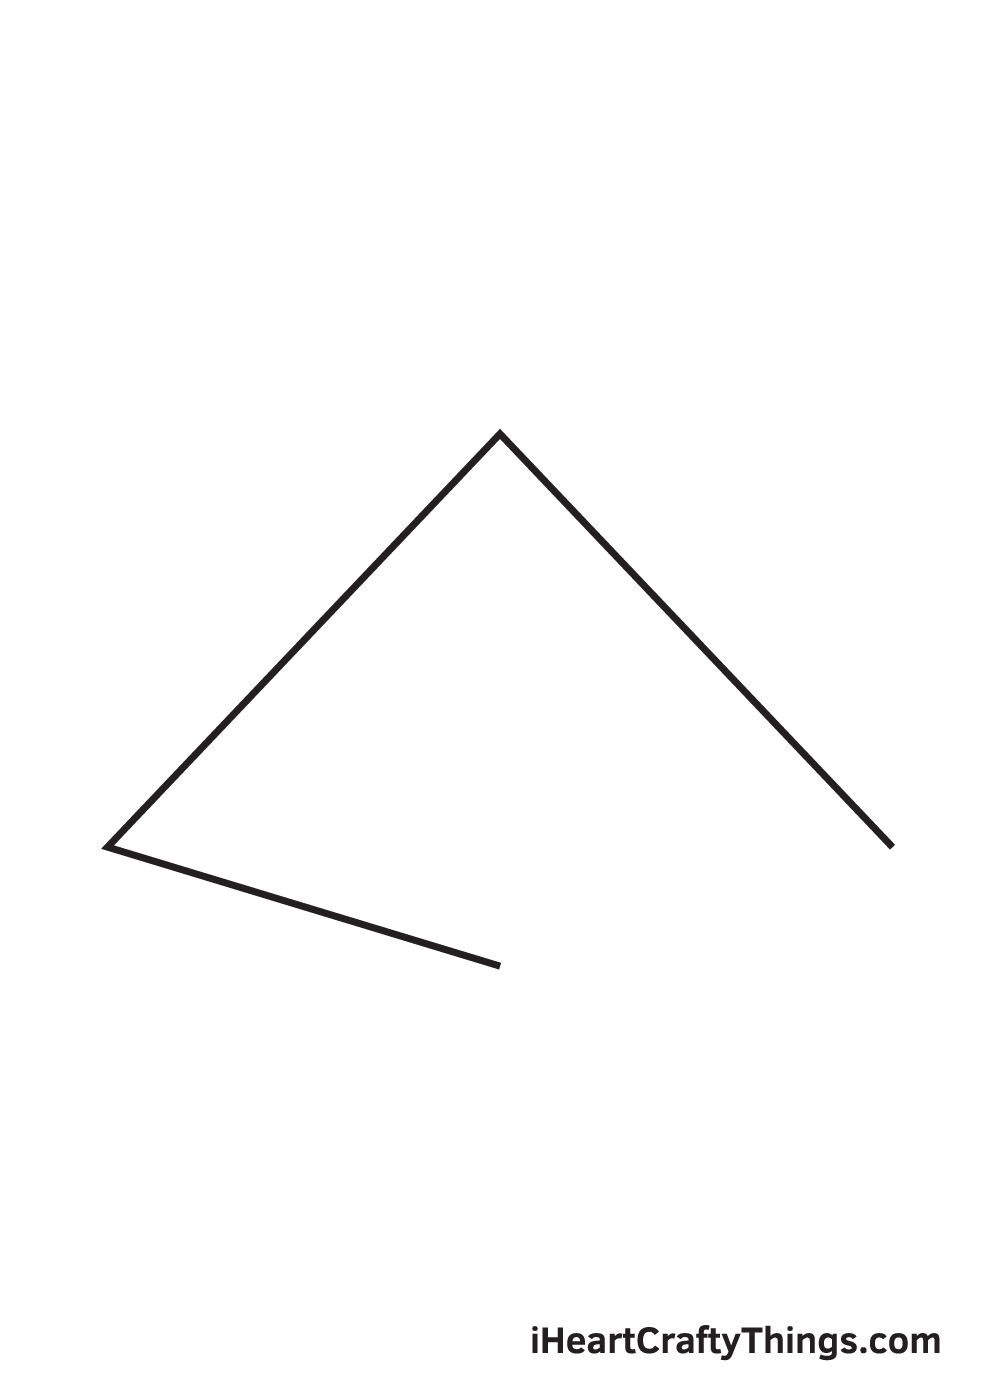
Draw another diagonal line from the bottom endpoint of the diagonal line on the left side. This forms the left bottom part of the pyramid.
Keep in mind that the endpoint of this line should be aligned with the point at the top where the two diagonal lines come across.
Step iv — Complete the Shape of the Pyramid
Finalize the shape of the pyramid past filling in the blank space of the outline. Merely draw some other diagonal line connecting the endpoints of the lower left diagonal line and the upper right diagonal line.
At this point, the outline or the shape of the pyramid should now be complete.
Step 5 — Then, Draw the Dimension of the Pyramid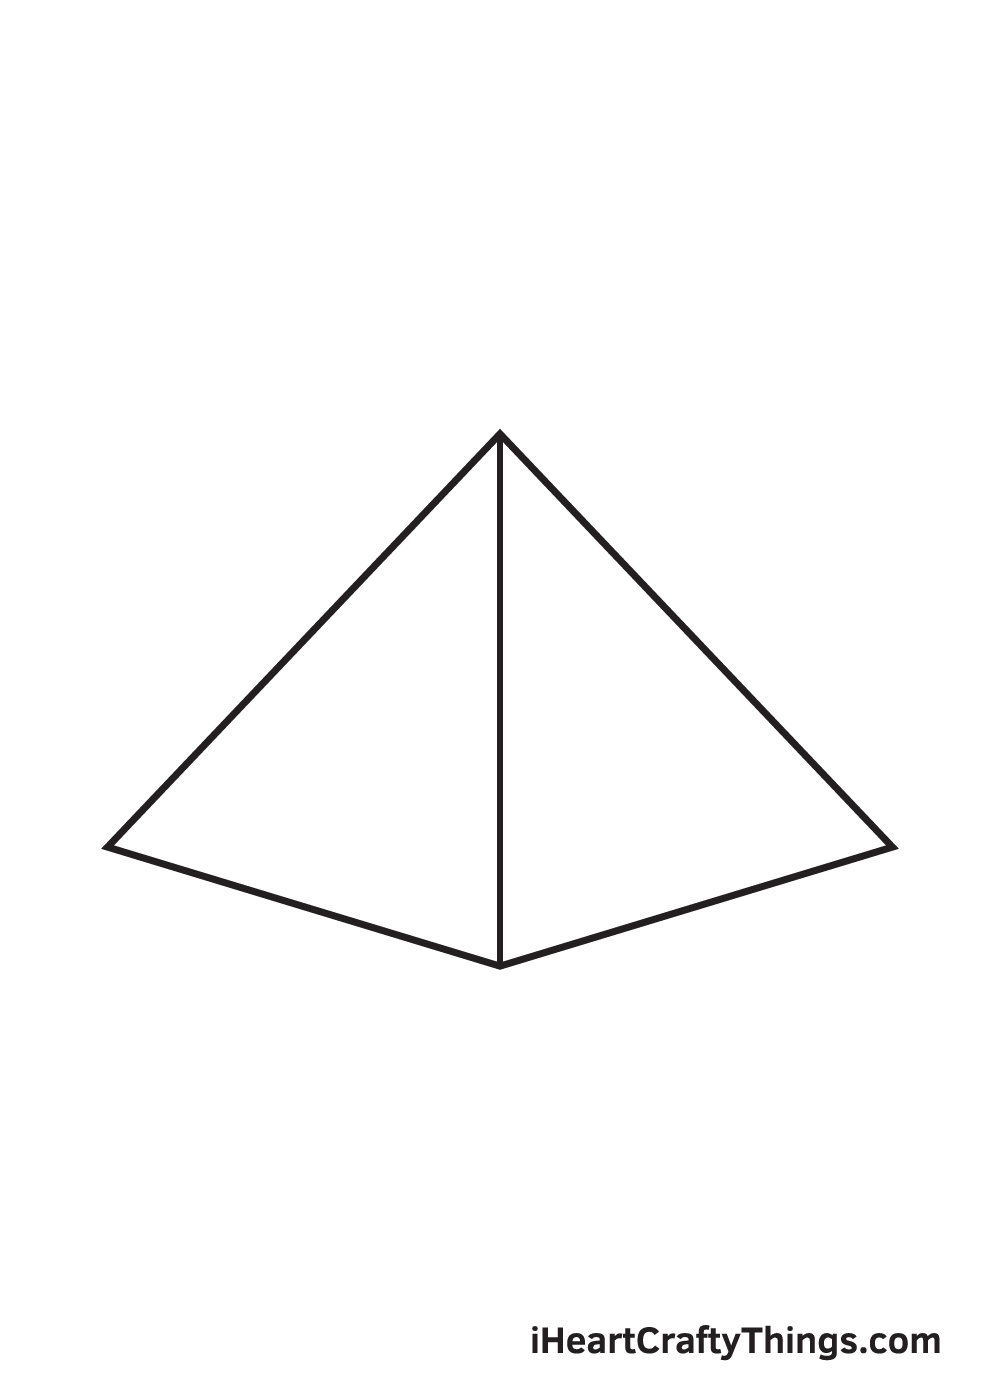
Describe a vertical line in the center of the outline of the pyramid. This creates the illusion of dimensions in the pyramid. At present, the pyramid looks three-dimensional and realistic!
Bear in mind that this line should begin from the pointed arch at the acme extending all the mode downwardly to the point in the bottom center of the pyramid.
Step six — Next, Draw the Patterns on the Left Side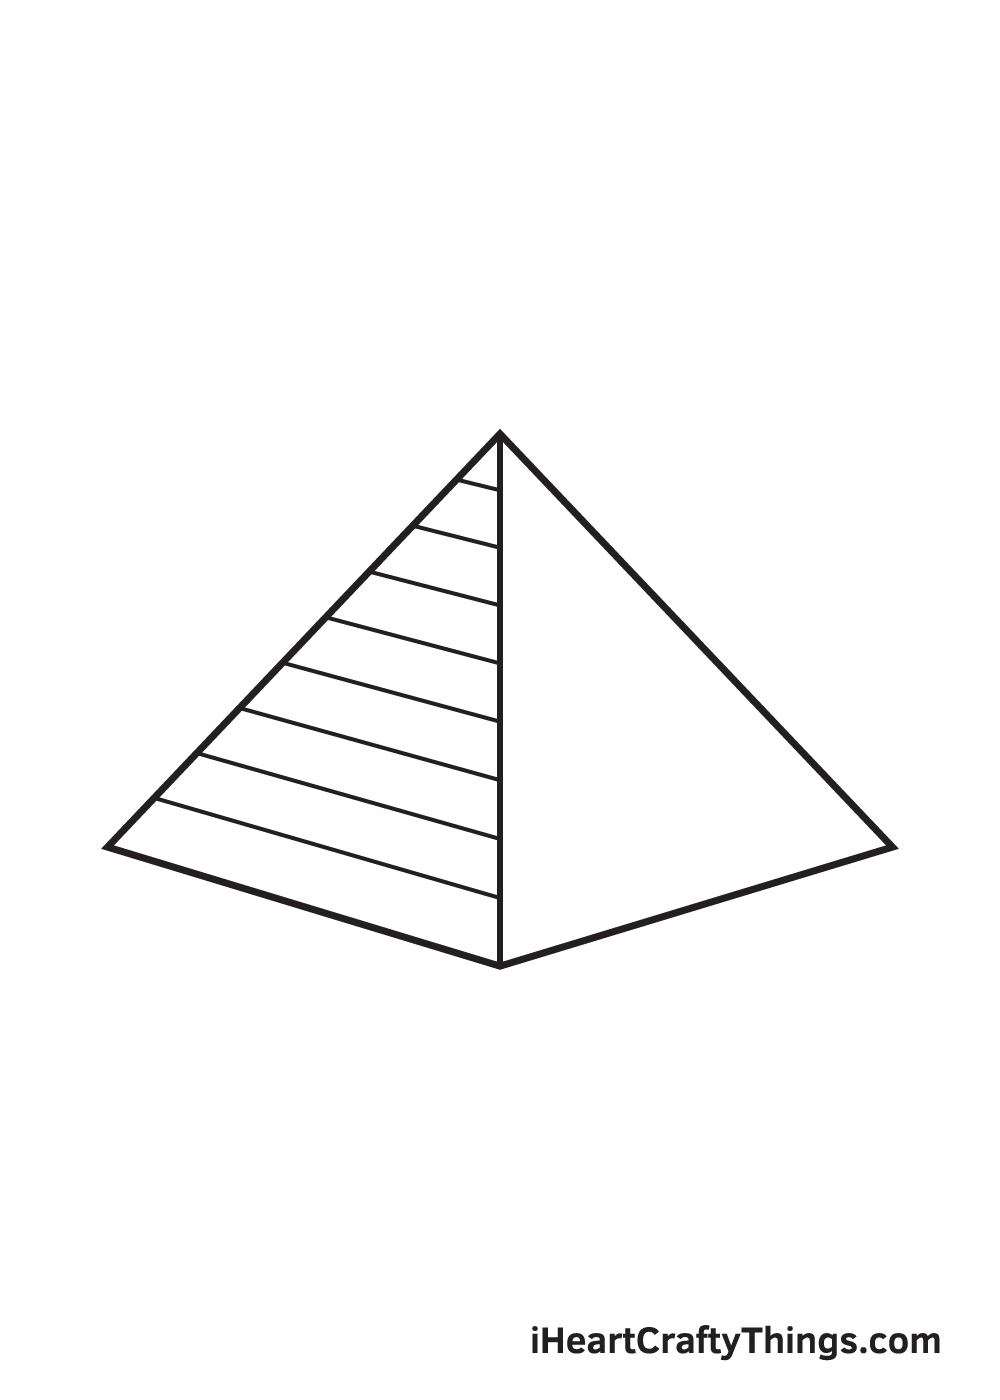
Draw multiple horizontal lines across the surface of the left side of the pyramid. This forms the distinct patterns of the pyramid.
Remember, all of these horizontal lines must exist parallel to each other.
Step 7 — Finalize the Patterns on the Left Side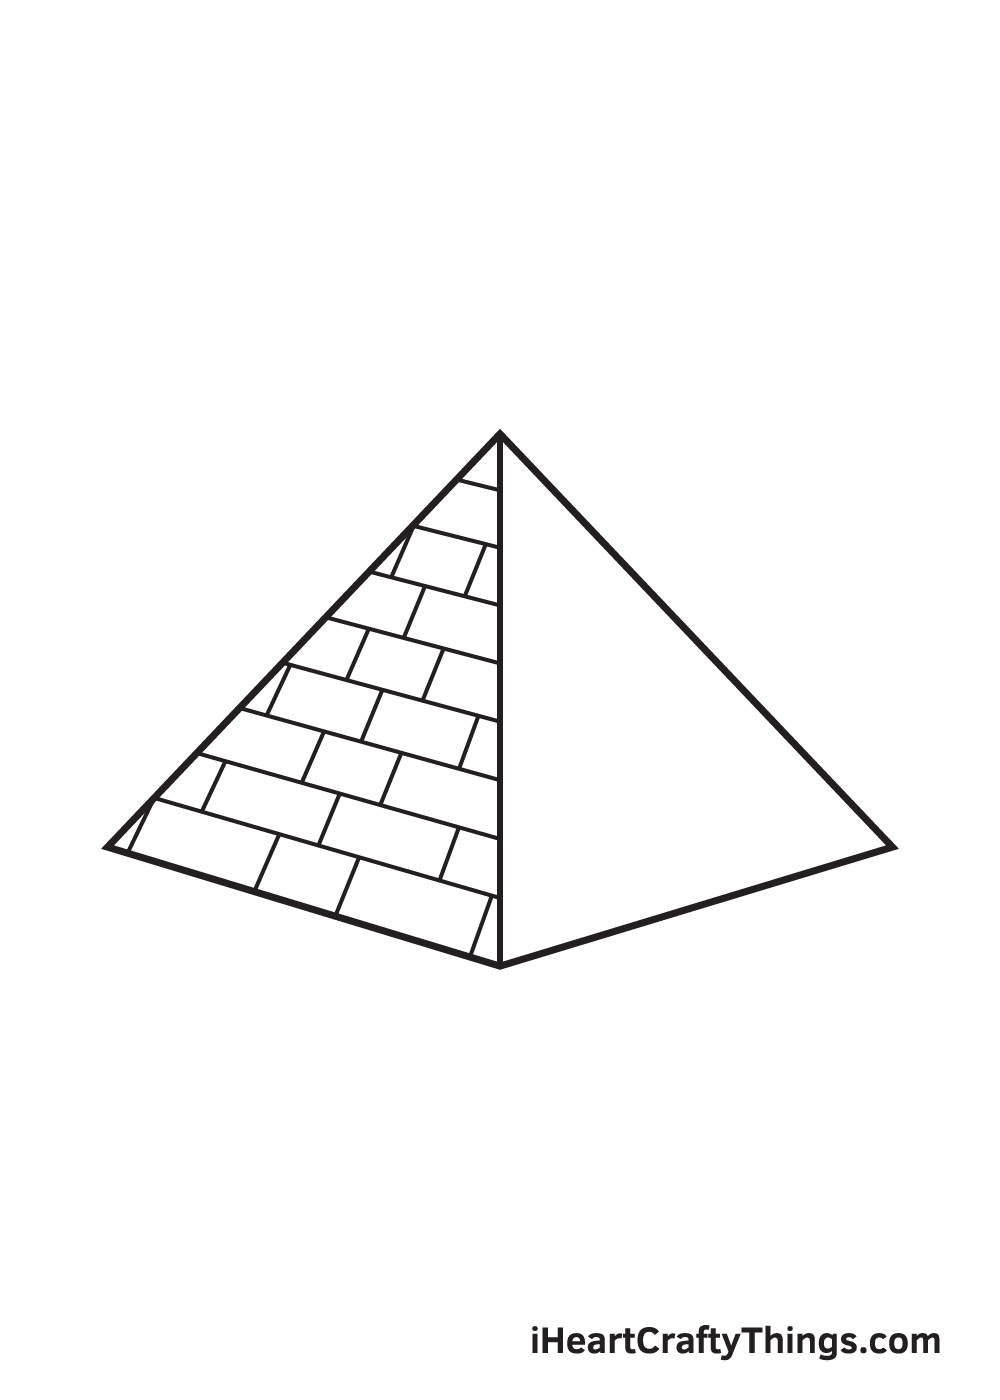
Draw multiple short vertical lines within the horizontal spaces on the left side of the pyramid.
The vertical line should be drawn alternately, as seen in the analogy higher up, to create the singled-out patterns quite similar to bricks.
Step eight — Later on, Add together Patterns on the Right Side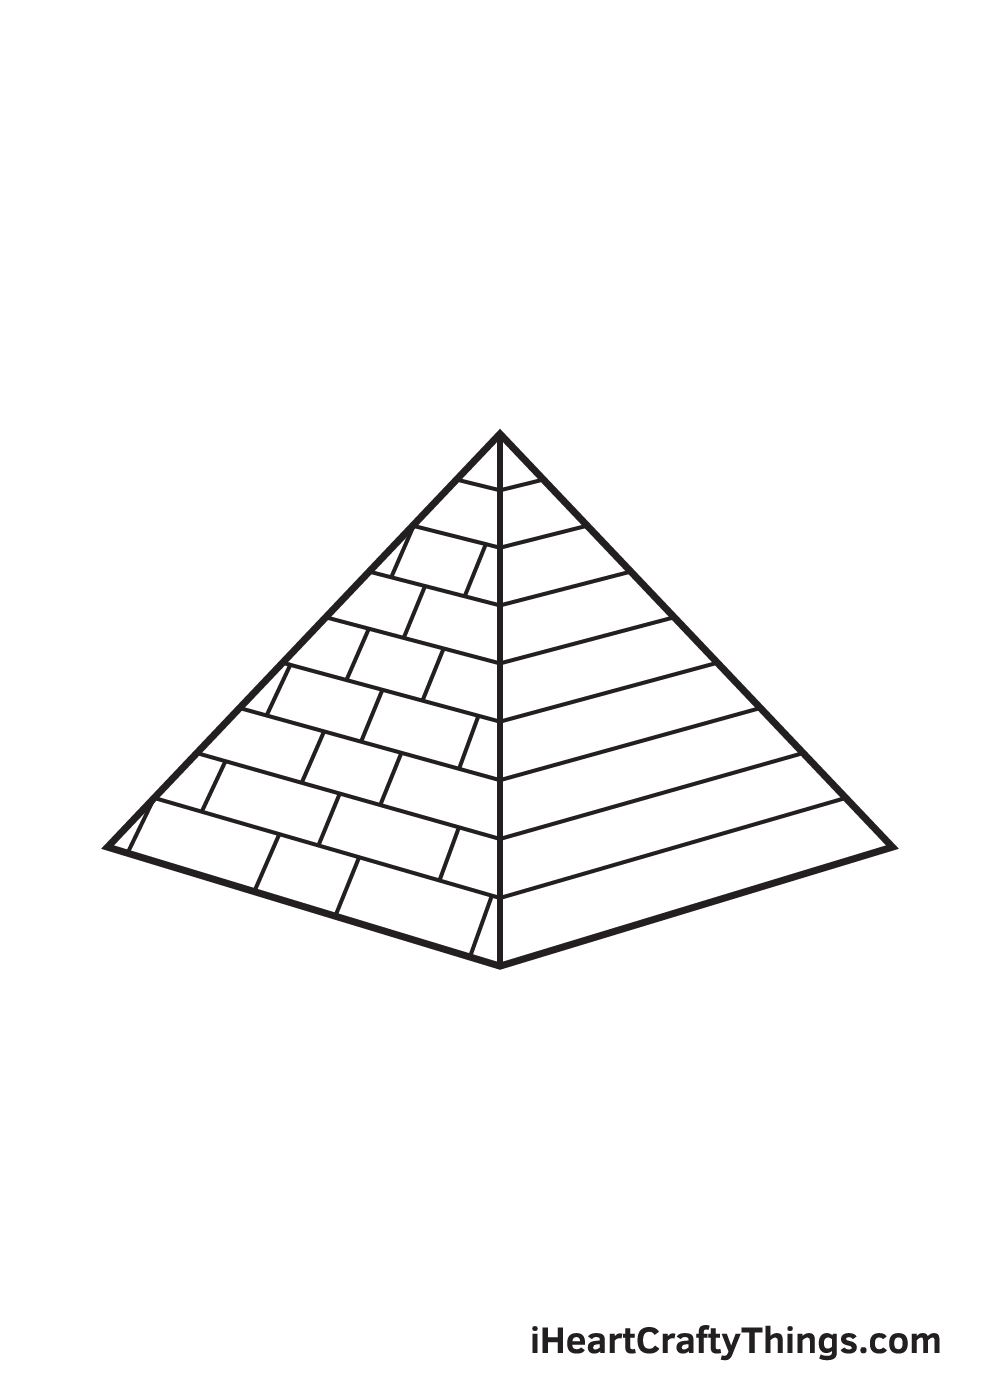
After completing the patterns on the left side, we will at present be moving on to the opposite side.
Similar to the previous steps, draw multiple parallel horizontal lines across the right side of the pyramid. The spaces in between the horizontal lines should exist identical.
Step 9 — Now, Complete the Patterns on the Correct Side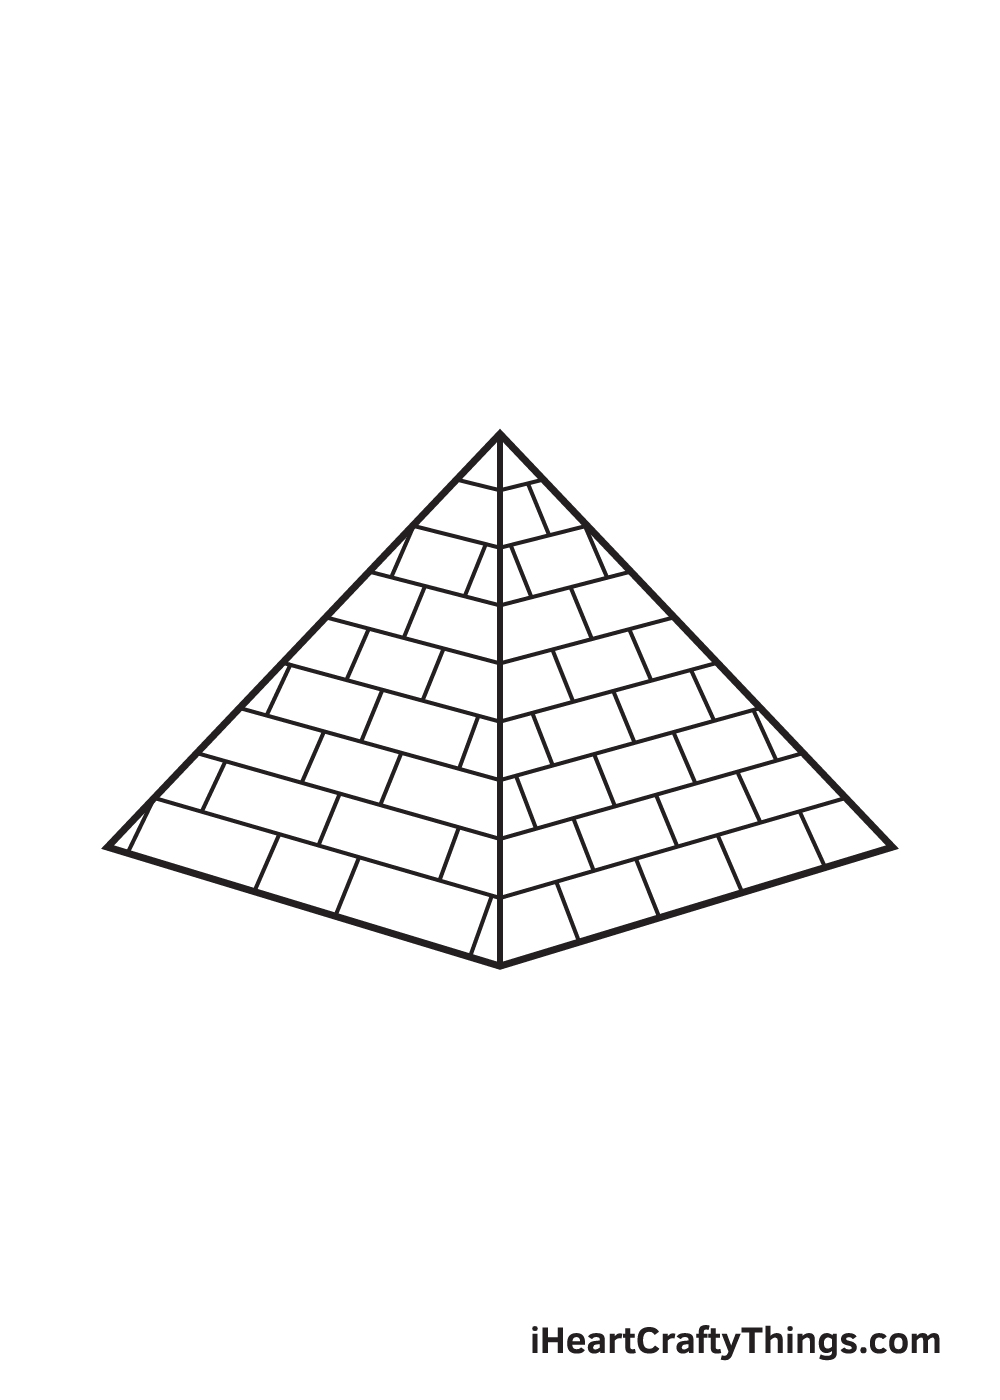
Finalize the patterns of the pyramid past drawing alternate vertical lines within the horizontal spaces. This should form a pattern similar to the left side of the pyramid.
As you can see, the pyramid cartoon is consummate at last. Now, all it's missing is a dash of colors to make the pyramid vibrant and colorful!
There yous have it—nosotros have successfully drawn a pyramid! Now, it'south finally time for the most heady part, which is choosing the colors and coloring the pyramid!
Traditionally, the pyramids were covered in slabs of highly polished, sparkling white limestone. Withal, every bit they age, their colors may alter over time.
The colors you will be using for the pyramid is entirely upward to you! Feel gratis to opt for any colour you like or utilize more than than one color to create a unique, multi-colored pyramid!
Have fun playing with colors and lookout as the pyramid ultimately comes to life!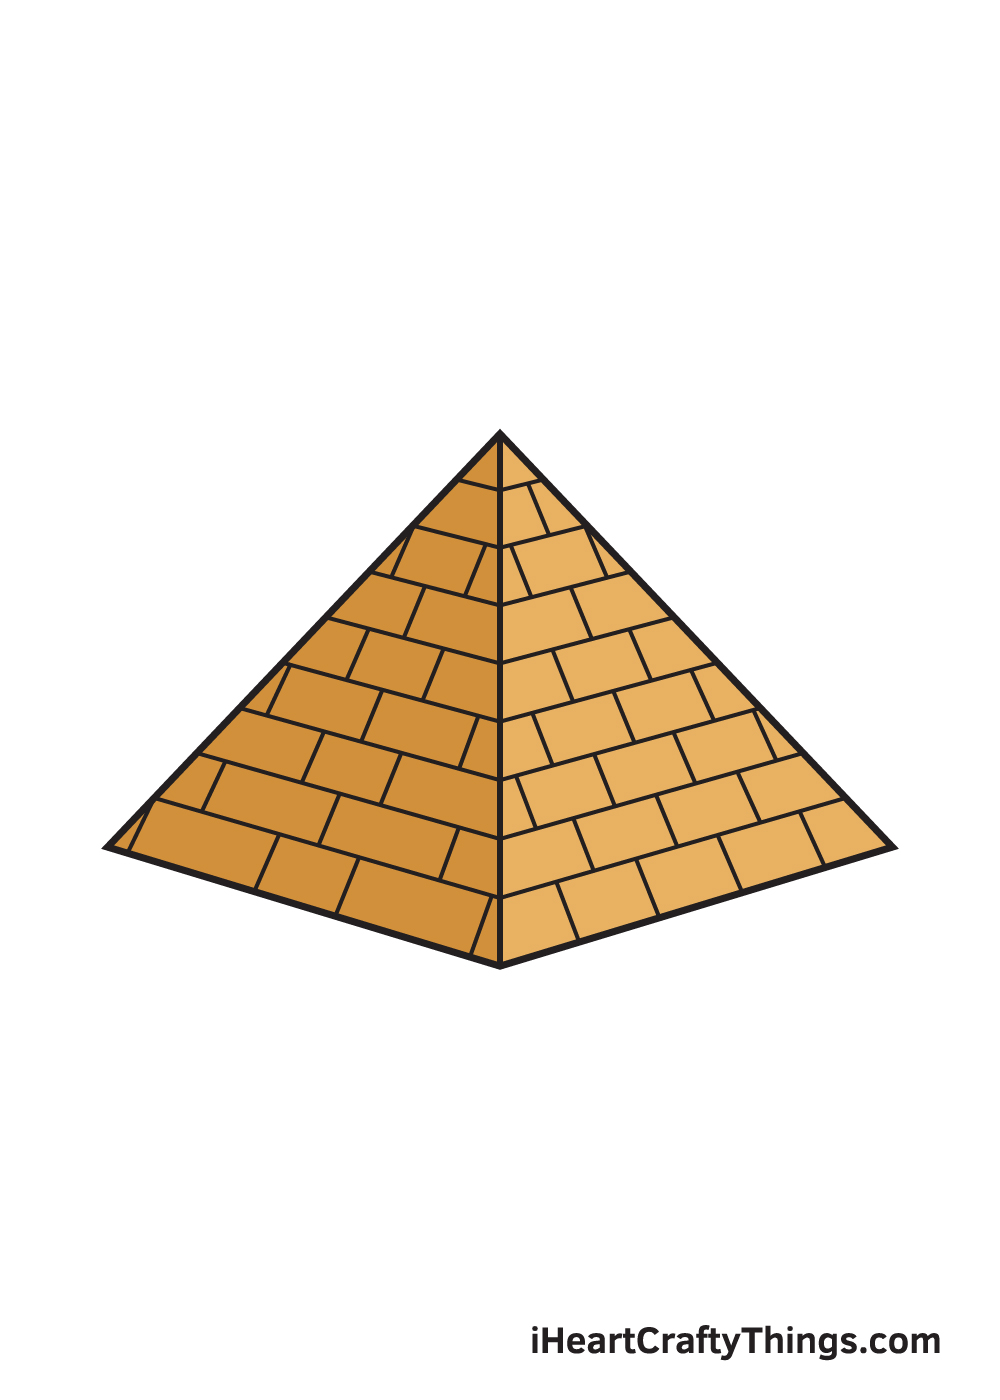
Your Pyramid Cartoon is Complete!
Hopefully, you had a wonderful time with this step-past-step pyramid drawing tutorial. If you had fun drawing a pyramid, maybe you might be interested in cartoon the famous Eiffel Tower too! Check out our "How to Draw" catalog to explore many more exciting cartoon tutorials like this!
Once you've finished cartoon and coloring the pyramid, don't forget to take a photograph of your artwork! So, share it on our Facebook folio and on Pinterest. Don't be shy! You lot should exist proud of yourself for completing an impressive masterpiece!
We're looking forward to seeing your marvelous pyramid drawing!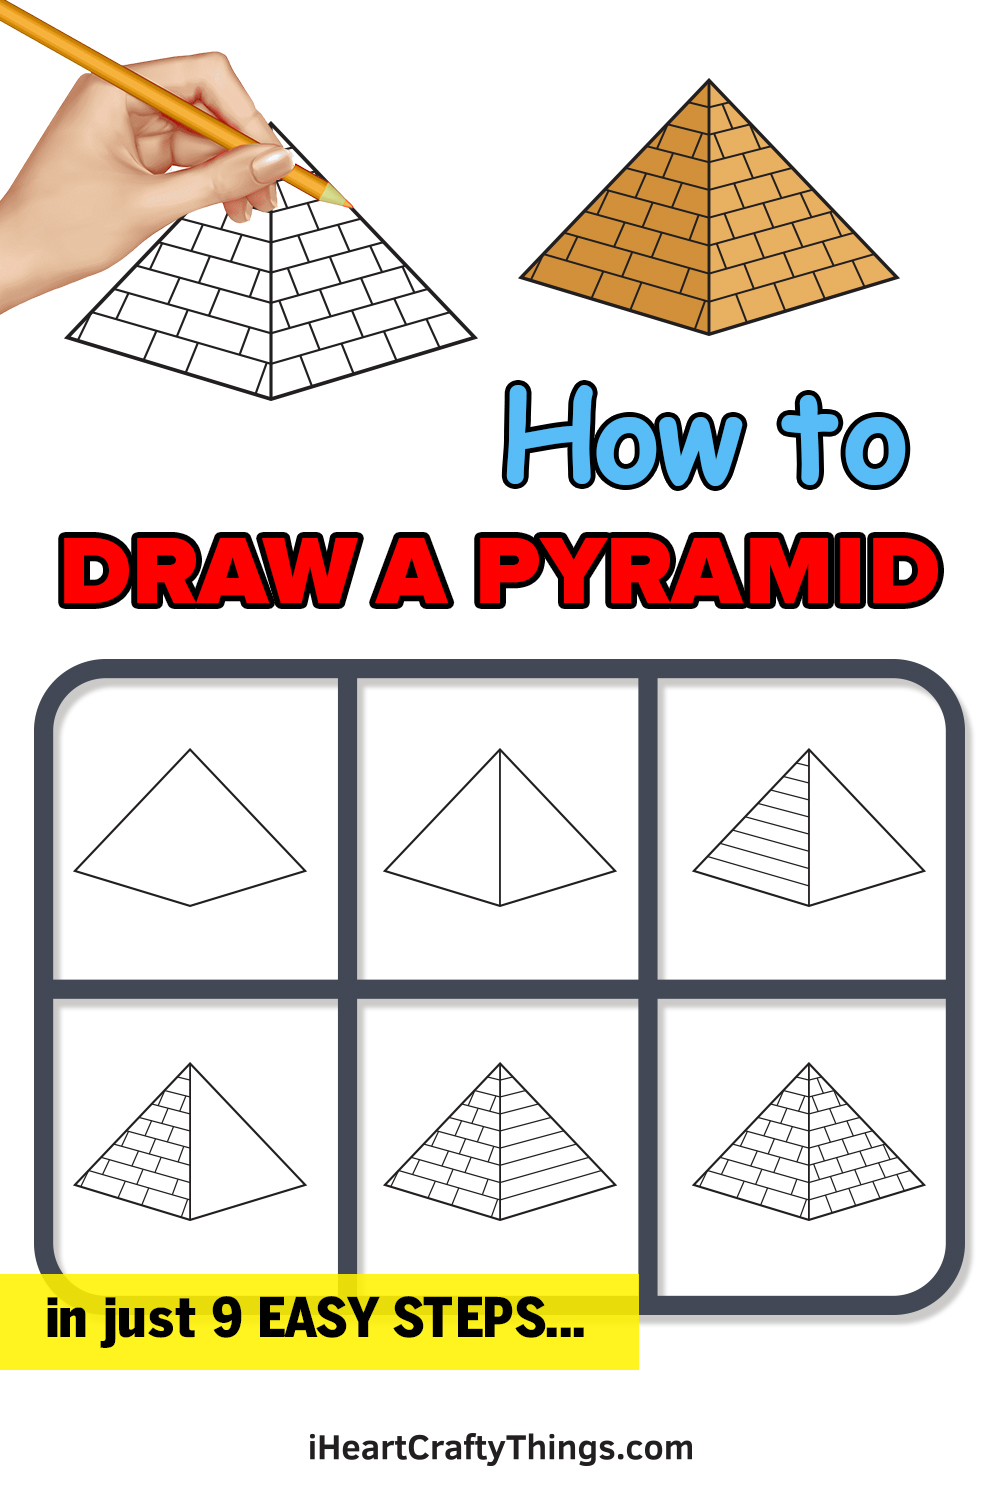
Source: https://iheartcraftythings.com/pyramid-drawing.html
0 Response to "3d drawing of a pyramid"
Post a Comment